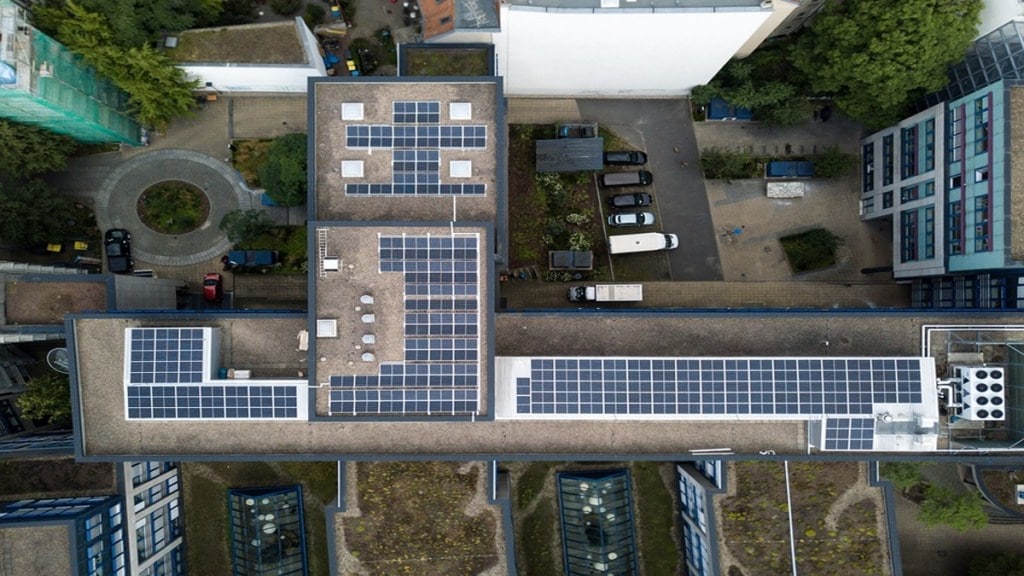
The Cabinet on Thursday gave green light to the PM-Surya Ghar: Mufti Bijli Yojna rooftop solar scheme and allocated Rs 75,021 crore for the same. Under this initiative, households can receive a subsidy of up to Rs 78,000 for solar plant installation and enjoy 300 units of free electricity. Although a lot has been said about the scheme, not many know how these solar rooftops will work. Let’s dive into the technology behind these solar panels and also understand the steps involved in installing one for your rooftop.
What are solar rooftops? How do they work?
Solar rooftops, as the name suggests, will use the Sun’s energy to convert into electricity. This can be achieved by incorporating an inverter, which transforms the DC power produced by rooftop solar panels into AC power, as the majority of appliances and devices operate on AC.
There are a lot of factors that we need to keep in mind before installing a solar rooftop in your home. These are:
– The amount of sunlight available year-round and the rooftop’s size are crucial factors for calculating potential power generation. Greater sunlight exposure translates to increased power generation.
– The exposure of the rooftop to the sun is important. If the roof has a natural slope and faces south, it’s highly suitable for installing rooftop solar panels. This is due to India’s location in the northern hemisphere, where south-facing rooftops receive the most sunlight as the Earth rotates on its axis. However, if the rooftop is flat, solar panels should be angled towards the south to capture the maximum sunlight possible.
– The presence of high-rise buildings in and around your house should not affect the solar panels’ exposure to sunlight.
Steps to register for solar rooftop installation
Step 1: Registration
Sign up on the National Portal via this link – https://solarrooftop.gov.in/. Follow the registration instructions given on the portal.
Step 2: Application for Rooftop Solar
Upon registration, log in to your account and submit your application. Fill out the required information in the specified format and proceed with the submission.
Step 3: Technical Feasibility Approval
Your submitted application will be forwarded directly to the relevant DISCOM for technical feasibility assessment. If all details are accurate, your application will be approved. Otherwise, it may be rejected or returned for correction.
Step 4: Selection of Vendor and Plant Installation
Once Technical Feasibility Report (TFR) approval is received, engage with a selected registered vendor by signing an agreement and proceed with the installation of the solar plant. The list of registered vendors can be found under the ‘vendors in my area’ tab in your applicant account on the National Portal.
Step 5: Submission of Installation Details
After installing the solar plant, provide installation details on the National Portal and upload a photo of yourself with the installed plant. These details are necessary for inspection and net-metering purposes.
Step 6: Inspection by DISCOM
DISCOM officials will conduct an inspection of the system based on technical criteria set by MNRE. Upon successful inspection, the DISCOM will install the net-meter.
Step 7: Project Commissioning Status
Once the net-meter is installed, the DISCOM official will approve the installation details on the portal, and an online commissioning certificate will be generated, visible in your applicant account.
Step 8: Subsidy/CFA Request
Following the issuance of the commissioning certificate, you can raise an online subsidy/CFA claim request by providing your bank details along with a legible copy of a cancelled bank cheque or passbook.
Step 9: Subsidy Release
If all details are accurate, the Central Government subsidy/CFA will be released directly into your bank account within 30 days of the submission of the CFA/subsidy claim.
Important Instructions to follow
1. Ensure to use your own mobile number and email address for registration on the National Portal. Applications using the vendor’s email address or mobile number will be rejected, and such vendors will be blacklisted from further participation in the program/scheme.
2. The electricity connection and bank account must be in the applicant’s name; otherwise, the application will be rejected.
