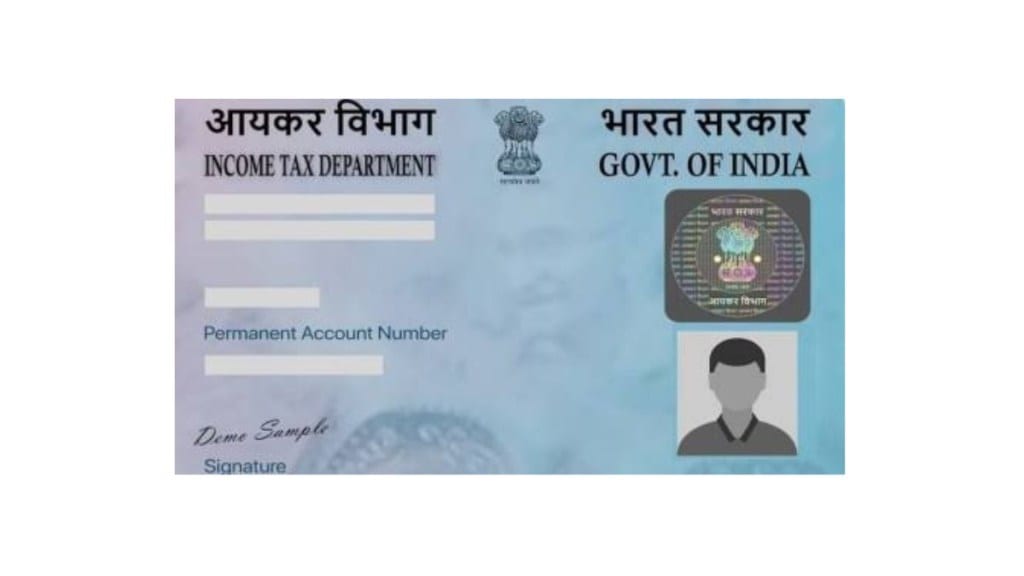
A PAN card plays a vital role as an official document used for filing income tax returns, conducting high-value transactions, and verifying identity. Sometimes, errors may appear on the card—such as incorrect spellings in your name, your parent’s name, or your date of birth. Additionally, life events may lead to changes in your name or address after the PAN card has been issued. In these situations, it becomes essential to correct and update the relevant information on your PAN card. Fortunately, updates and corrections to PAN details can be carried out both online and through offline methods.
How to Make Corrections to Your PAN Card on the NSDL e-Gov Portal
Follow these easy steps to update your PAN card information online:
Step 1: Head to the Protean PAN Website
Visit the official website for PAN services managed by Protean eGov Technologies (formerly NSDL).
Step 2: Start the PAN Update Process
Scroll down the homepage until you find the section titled “Change/Correction in PAN Data”. Click on “Apply Now” to begin.
Step 3: Fill Out the Online PAN Application Form
Here’s how to complete the online form:
Application Type: Choose “Changes or Correction in existing PAN Data / Reprint of PAN Card”
Category: Pick your applicable category (Individual, Company, etc.) from the drop-down list.
Personal Information: Enter details such as:
Title (Mr./Mrs./Ms.)
Full name (Surname, First Name, Middle Name)
Date of Birth / Incorporation / Formation
Email address
Mobile number
Citizenship status (Indian/Other)
Existing PAN number
Enter the Captcha Code and click Submit.
Step 4: Token Number Generation
Once your request is accepted, you’ll receive a Token Number on the email address provided. This token helps resume the application later if interrupted.
Click “Continue with PAN Application Form” to proceed.
Step 5: Choose Submission Mode
You will be given three submission options:
Online via e-KYC & e-Sign (Paperless using Aadhaar OTP)
Upload scanned images and e-Sign
Send documents physically
For a completely digital process, choose the first option: Submit digitally through e-KYC & e-Sign (Paperless).
Step 6: PAN Card Dispatch Preference
If you’d like a physical copy of the updated PAN card, select ‘Yes’. Note that additional charges may apply.
Step 7: Enter Aadhaar Details
Scroll to the Aadhaar section and input the last four digits of your Aadhaar number.
Step 8: Update Required Information
Tick the checkbox next to the fields you want to correct or update. Fill in the updated information, then click Next.
Step 9: Contact Details Page
Enter your new address, mobile number, or email address, as applicable, and proceed.
Step 10: Upload Supporting Documents
Attach valid proof for the updates you’re requesting, along with a copy of your current PAN card.
Step 11: Complete the Declaration
Fill in the declaration section by:
Entering your full name
Selecting ‘Himself/Herself’ as the applicant capacity
Mentioning your current place of residence
Step 12: Upload Photo and Signature
Attach a recent passport-size photo and your signature. Make sure both files match the specified format and size. Click Submit when done.
Step 13: Review the Application
A preview of your filled form will appear. Enter the first eight digits of your Aadhaar number and verify that all entered information is accurate.
Step 14: Payment Process
Proceed to the payment page. You can pay using available digital methods. Once paid, you will receive a receipt for your transaction.
Step 15: Begin Aadhaar e-KYC
After payment, click Continue to start Aadhaar verification. Tick the box to accept the terms and hit Authenticate.
Step 16: Aadhaar OTP Verification
An OTP will be sent to your Aadhaar-linked mobile number. Enter this OTP to verify and proceed.
Step 17: eSign Confirmation
Click on Continue with eSign, accept the terms and conditions, then enter your Aadhaar number and click Send OTP.
Step 18: Final Aadhaar OTP Verification
Enter the OTP received and verify. Once successful, you can download the acknowledgement form.
The PDF is password-protected. Use your Date of Birth (DD/MM/YYYY) as the password to open it.
Alternative Option: Submit Documents Physically
If you selected the third submission method in Step 5 (physical submission), print out the acknowledgement form and post it along with copies of your documents to:
Income Tax PAN Services Unit
Protean eGov Technologies Limited
4th Floor, Sapphire Chambers
Baner Road, Baner
Pune – 411045


