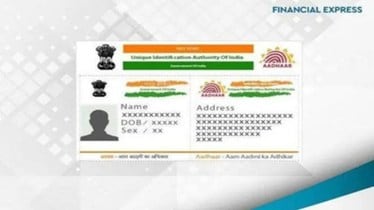
Aadhaar card’s address plays a vital role in various official and everyday activities. If the address listed is outdated or incorrect, it can create major obstacles such as delays in receiving cheque books or credit cards from banks that need to verify your residence. It may also affect your eligibility for government schemes, including subsidies, pension disbursements, or student scholarships. If you’ve recently shifted to a new residence or noticed inaccuracies in your Aadhaar address, it’s important to update it promptly.
Thankfully, UIDAI has simplified the Aadhaar address update process to make it faster and eliminate unnecessary paperwork. The new system will allow for automatic verification of a user’s information by cross-referencing it with existing government databases, including PAN cards, passports, and ration cards, significantly reducing the need for repeated document uploads. Furthermore, the UIDAI will begin accepting utility bills, such as electricity bills, as valid proof for address changes.
How to update Aadhaar Address online?
The most convenient method for updating Aadhaar address name online is through the official UIDAI Self Service Update Portal (SSUP). This method requires the user’s mobile number to be registered with Aadhaar for OTP-based verification.
Step 1: Visit the myAadhaar portal and sign in using your Aadhaar number, captcha, and the OTP sent to your registered mobile number.
Step 2: Once logged in, click on the ‘Address Update’ section.
Step 3: On the following screen, select the ‘Update Aadhaar Online’ option.
Step 4: Carefully review the instructions provided and then click on ‘Proceed to Update Aadhaar’.
Step 5: Choose the ‘Address’ option from the list and hit ‘Proceed to Update Aadhaar’ again.
Step 6: Your current address will appear on the screen. Scroll down to enter the new details — including ‘Care of’ (such as your father’s or husband’s name), updated address, relevant post office, and then pick a valid proof of address document from the dropdown list. Upload the scanned copy of the selected document and click on ‘Next’.
Step 7: Verify the entered details in the preview section. If everything looks correct, proceed to make a non-refundable payment of Rs 50.
Address correction:
The address correction is typically processed and reflected within a few days to a few weeks, after which the new e-Aadhaar can be downloaded
